New! Spinny Glider Class Fleet (50 Kits)


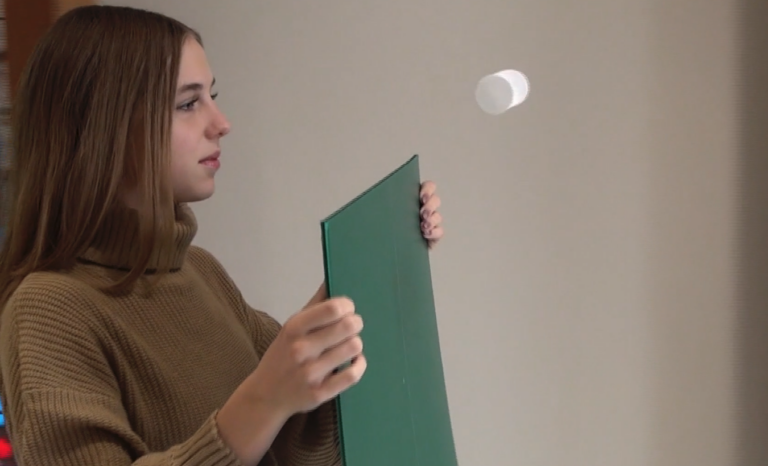
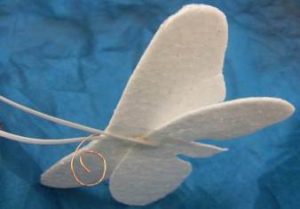
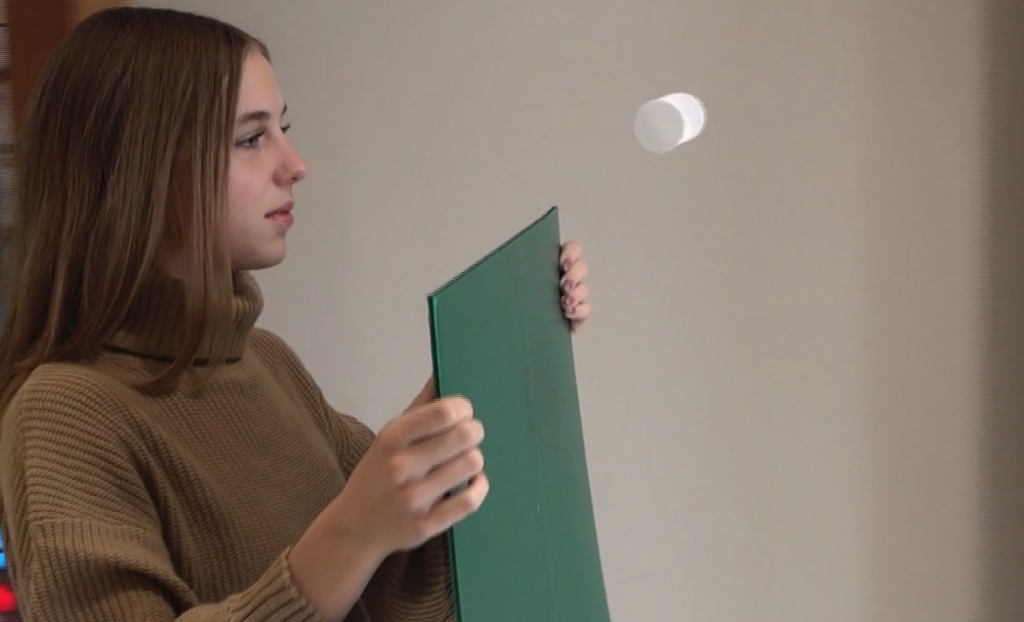
Spinny Glider in flight
Spinny Gliders Class Pack

50 Spinny Glider Kits (10kg/㎥ foam)

Price and Shipping


US Customers
Read these notes before ordering

U.S. customers:   $12.50 USD + $5.50 flat-rate shipping
(even if you order more than one set, there is no additional shipping charge).


International Customers

International customers: $12.50 USD + and please contact me for shipping cost.

I will need a postal address to find out the price.

By default we use the least expensive shipping method and IT CAN TAKE UP TO A MONTH!

More about international postage–delivery time, faster delivery, cost, etc.–is here.

If possible, please provide a telephone number if you think there might be a delivery problem.


About Payment

A Note About Payment

PayPal
Embedded PayPal buttons for customer convenience and security have worked well and automatically convert currencies. When you click on a button, you go to a secure PayPal page. Even if you do not have a PayPal account, you can still just use a credit card.

Checks
If you send in a check, please make it out to Slater Harrison. Feel free to contact me, Slater, with any questions.

Purchase Order
Please read this for more information.


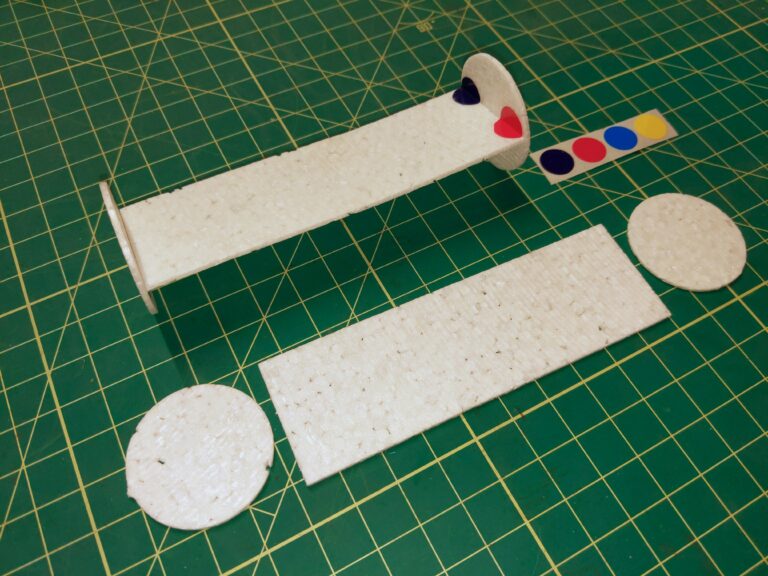
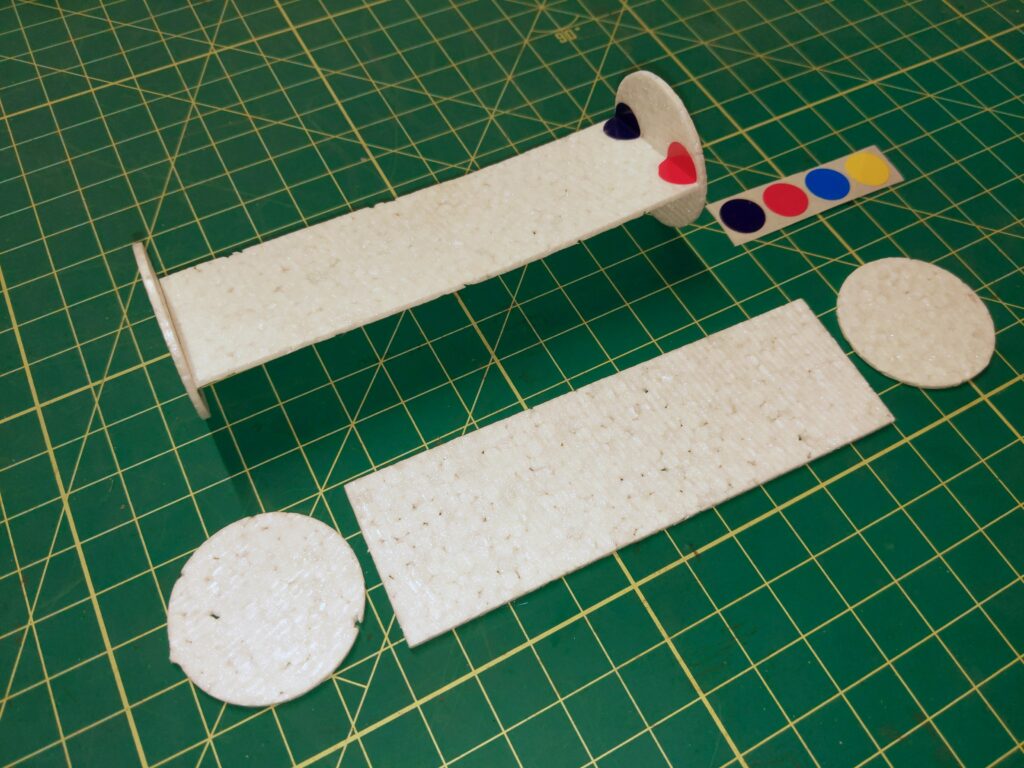
Although there are many walkalong glider designs, the new Spinny foam design is proving best by far to start out with. It is quick and easy to make—just 4 stickers (stickers are included) holding the circles to the rectangle. So people have the satisfaction of building their glider with their own hands, but without soaking up much time.

It flies more slowly than other designs, so you have time to think and react. In my tests with schools and youth groups everyone gets flying in the first session.

It’s more durable in young, excited hands than any other design. If it gets bent, bend it back (although is still flies well even if bent). If it rips, tape it together with a small piece of tape on both sides. It folds almost flat so kids can take it home and show their families.

I hope teachers will feel free to use the step-by-step building and flying video–hosted by 2 friendly young people–either with a projector as a group, or individually at their own pace with tablet devices.

I do not have written instructions at this time and I doubt that I could convey the information as well as in this video.

I have been sending myself parts for 4 gliders through the mail in regular envelopes and they have come back in good shape even though they have obviously gone through sorting machines. The parts are slightly flattened but still work perfectly. Now I am looking for a bigger sample size. If you want to try out walkalong gliders—but not 50 of them—with the understanding that you will email me about how they fared in the mail, then contact me. I will send you a PayPal invoice for $4.50, or $5.50USD for international destinations outside the U.S.  If it gets wrecked in the mail, send me a picture so I can analyze what’s happening and of course I will refund your money.

Back to Air Surf Shop

Peter Sripol

Peter Sripol is a popular YouTuber whose projects range from human-carrying quadcopters to fire trucks with flamethrowers—very creative and funny. He first made a name for himself at FliteTest.
Then, at the opposite end of YouTube Land is a nasty genre of videos about paper airplanes that fly forever—suspended between two fans or flying around in thermals over stoves or candles—all completely fake, mind you. The people who make these videos have some CGI skills and total moral deficit. To enhance the gullibility of their viewers, they dispense “helpful” hints. Can you imagine that there are people so morally compromised that they encourage kids to enthusiastically start making a project that is doomed to failure?
So back to Peter. In his video, he first dismisses the hoaxes, then experiments to see if it is possible to use real physics to make a self-sustaining glider. He starts with walkalong gliders and…well, just watch the video. Amazing!
Many YouTubers “liberate” other people’s ideas without any thought of attribution, but—gentleman that he is--Peter Sripol gives a shout-out to sciencetoymaker at the end.

New! Jagwing Class Fleet (50 Kits)


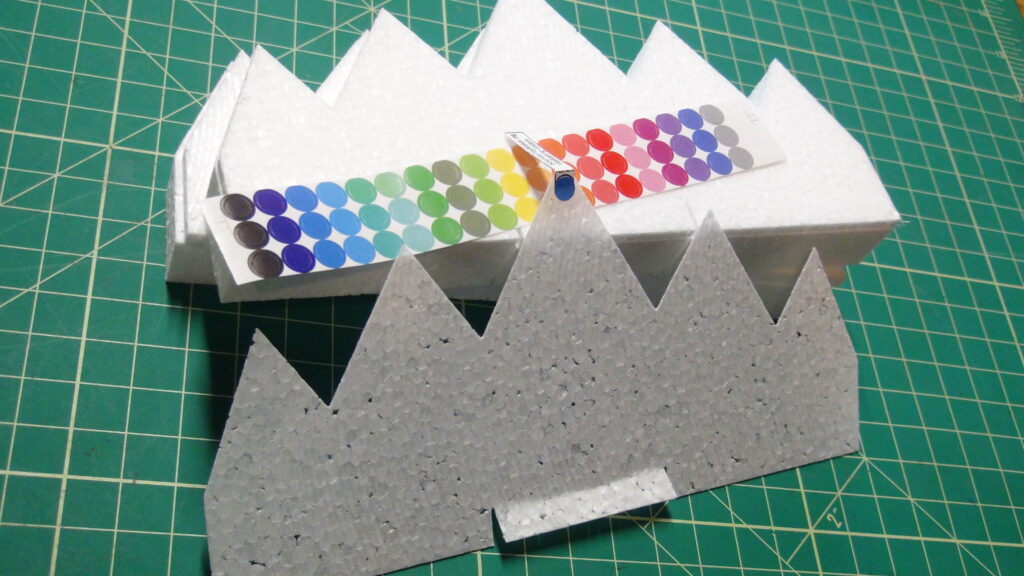
50 Jagwings Class Pack

50 New Jagwing Kits (10kg/㎥ foam)

Price and Shipping

US Customers
Read these notes before ordering

U.S. customers:   $17.50 USD + $5.50 flat-rate shipping
(even if you order more than one set, there is no additional shipping charge).

International Customers

International customers: $17.50 USD + and please contact me for shipping cost.

I will need a postal address to find out the price.

By default we use the least expensive shipping method and IT CAN TAKE UP TO A MONTH!

More about international postage–delivery time, faster delivery, cost, etc.–is here.

If possible, please provide a telephone number if you think there might be a delivery problem.

About Payment

A Note About Payment

PayPal
Embedded PayPal buttons for customer convenience and security have worked well and automatically convert currencies. When you click on a button, you go to a secure PayPal page. Even if you do not have a PayPal account, you can still just use a credit card.

Checks
If you send in a check, please make it out to Slater Harrison. Feel free to contact me, Slater, with any questions.

Purchase Order
Please read this for more information.

I redesigned the Jagwing and cut the price in half. Here’s why.

For years ready-to-fly Jagwings have been the favorite glider. Although not the most efficient design, it’s stable in flight and not fussy about adjustments. And it’s still efficient enough that you can learn to fly it without a board—only hands deflecting the air to provide lift.

But I’ve been uncomfortable with the ready-to-fly part. It’s felt like I’m depriving kids of the accomplishment of making their own. The original Jagwing DIY making was too complicated and took too long. So I’ve redesigned the Jagwing to have all the qualities that people love, and also be quick and easy to make. I can make one in less than a minute, although of course it will take longer the first time, following directions. You can see the illustrated directions, below. The exact differences between the old and new Jagwing are detailed at the bottom of this page.

At some point I will have a polished step by step video for making and flying, but for now I only have written, illustrated assembly directions (below, scroll down). For learning to fly—including how to fly hands-only—this old video is still good despite some rough editing patches. It also covers some of the science of walkalong gliders.

Note that the New Jagwings are still made from thin foam, and they have to be handled carefully. They can crash into a wall a thousand times and be no worse for the wear, but excited or nervous hands can warp them to be unflyable in a second. The Spinny glider is made from foam almost 3 times thicker and might be a be a more forgiving choice as a first glider.

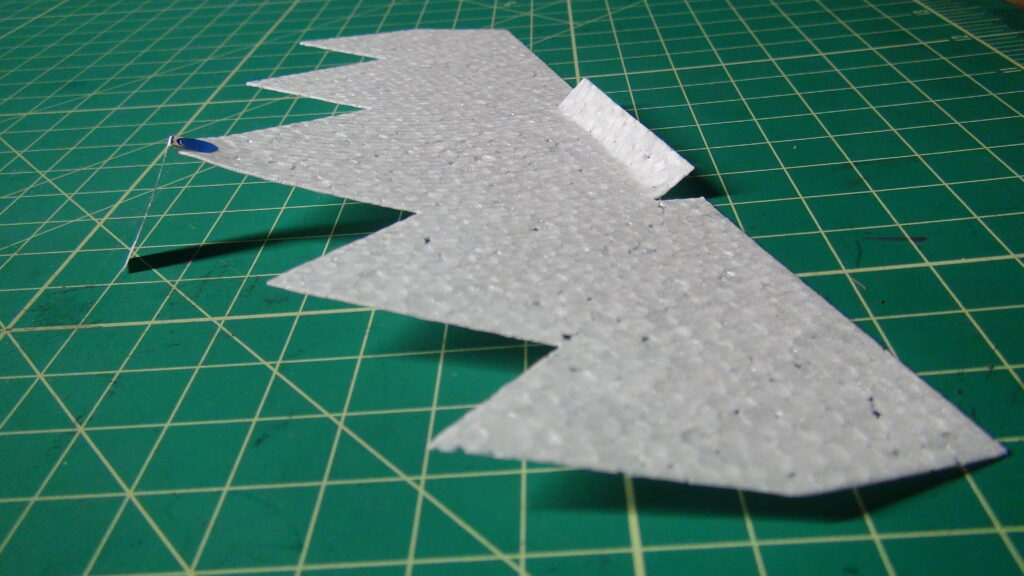
This is what your finished glider will look like. Notice the front weight/landing gear is bent down and the rear flap (called an elevon) is bent up. It is important to handle the foam very gently and do not slide it around (that causes it to pick up static electrical cling).


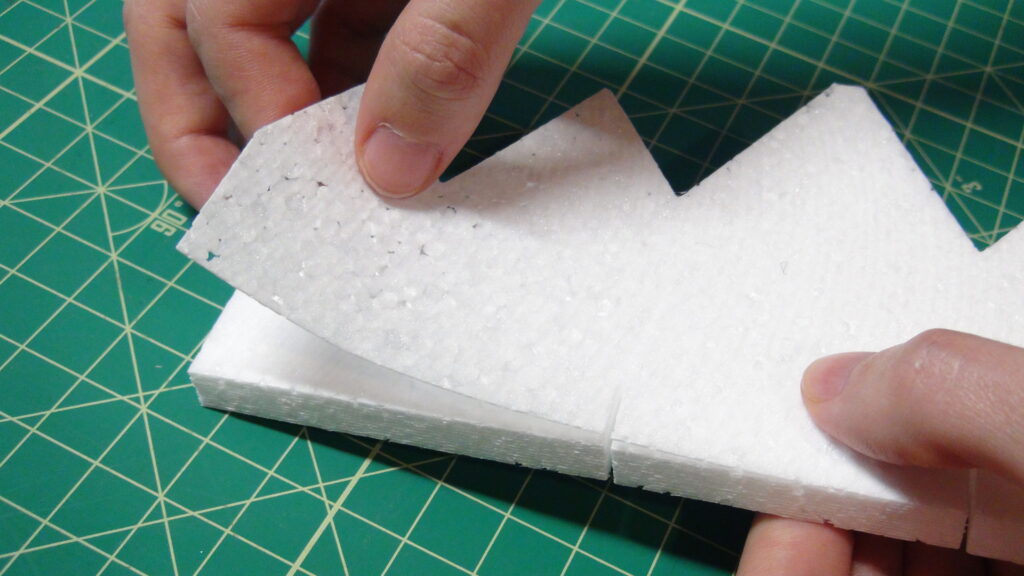
Step 1: Peel off a shape-cut foam sheet slowly and carefully so as not to rip it (make sure you don’t have two stuck together). If you write your initials on to avoid mix-ups, write gently and do not use a half dried-out marker.


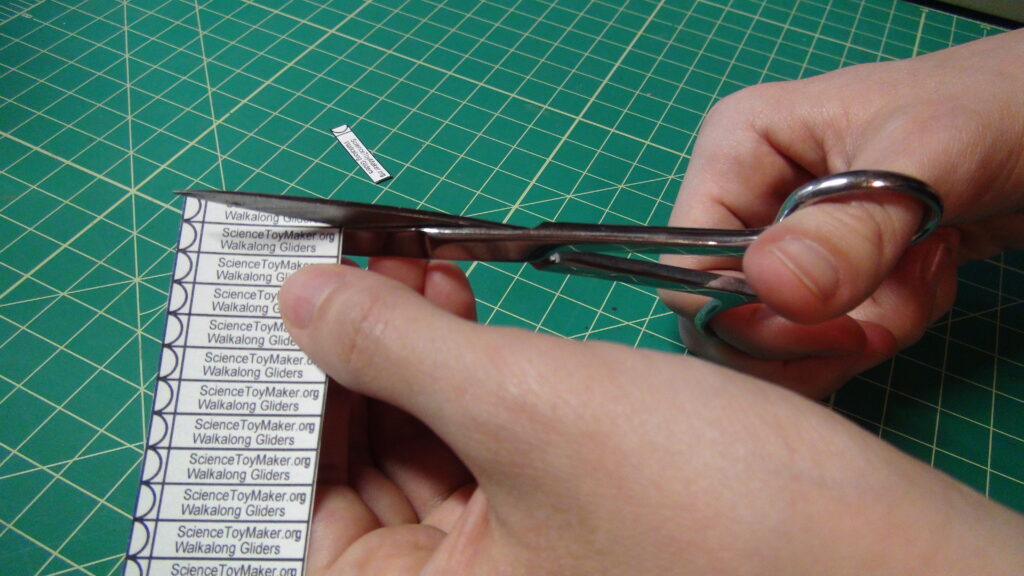
Step 2: Cut off a front weight, which is also the takeoff/landing gear. Cut on the long black line. If you are wondering why there is a fold line in the paper, that is where the landing gear will be folded (a later step).


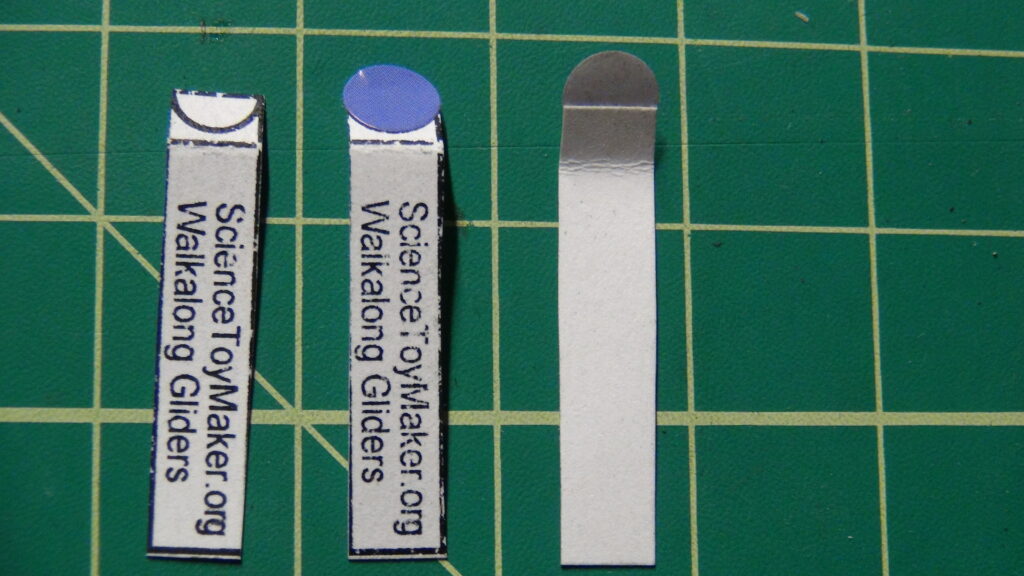
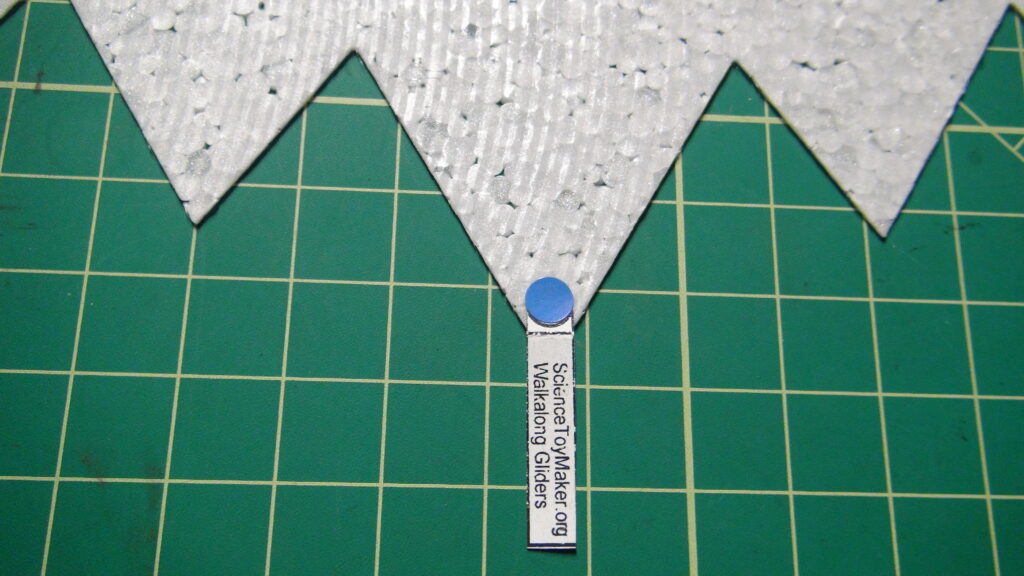
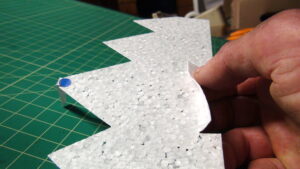
Step 3: On the left you can see the half-circle at the top end of the front weight. In the middle, a sticky colored dot has been pushed on, using the half-circle as a guide. On the right, the landing gear is flipped over to show how the sticky dot is half on the end of the paper strip and half sticking out.
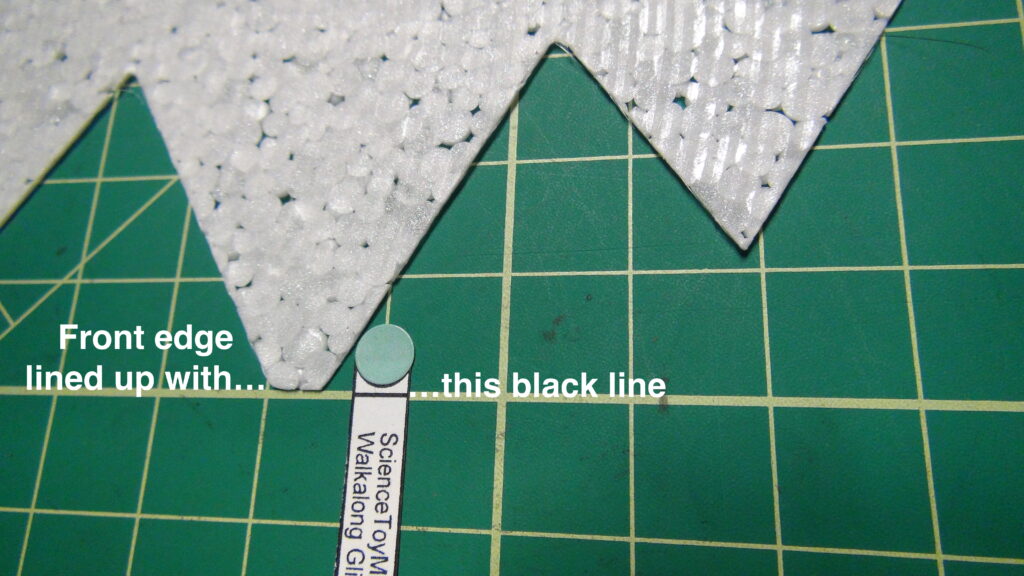
Step 4: The landing gear is not stuck on yet. It is offset to show how the short black line below the colored dot is lined up with the front edge of the foam (in the next step). IMPORTANT: Once you stick the landing gear on in the next step, do not try to pull it off. That would just rip the foam. The landing gear can be a bit crooked without affecting flight. .


Step 5: Stick on the landing gear.


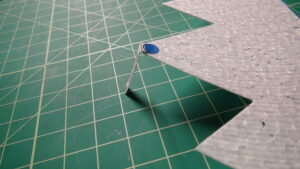
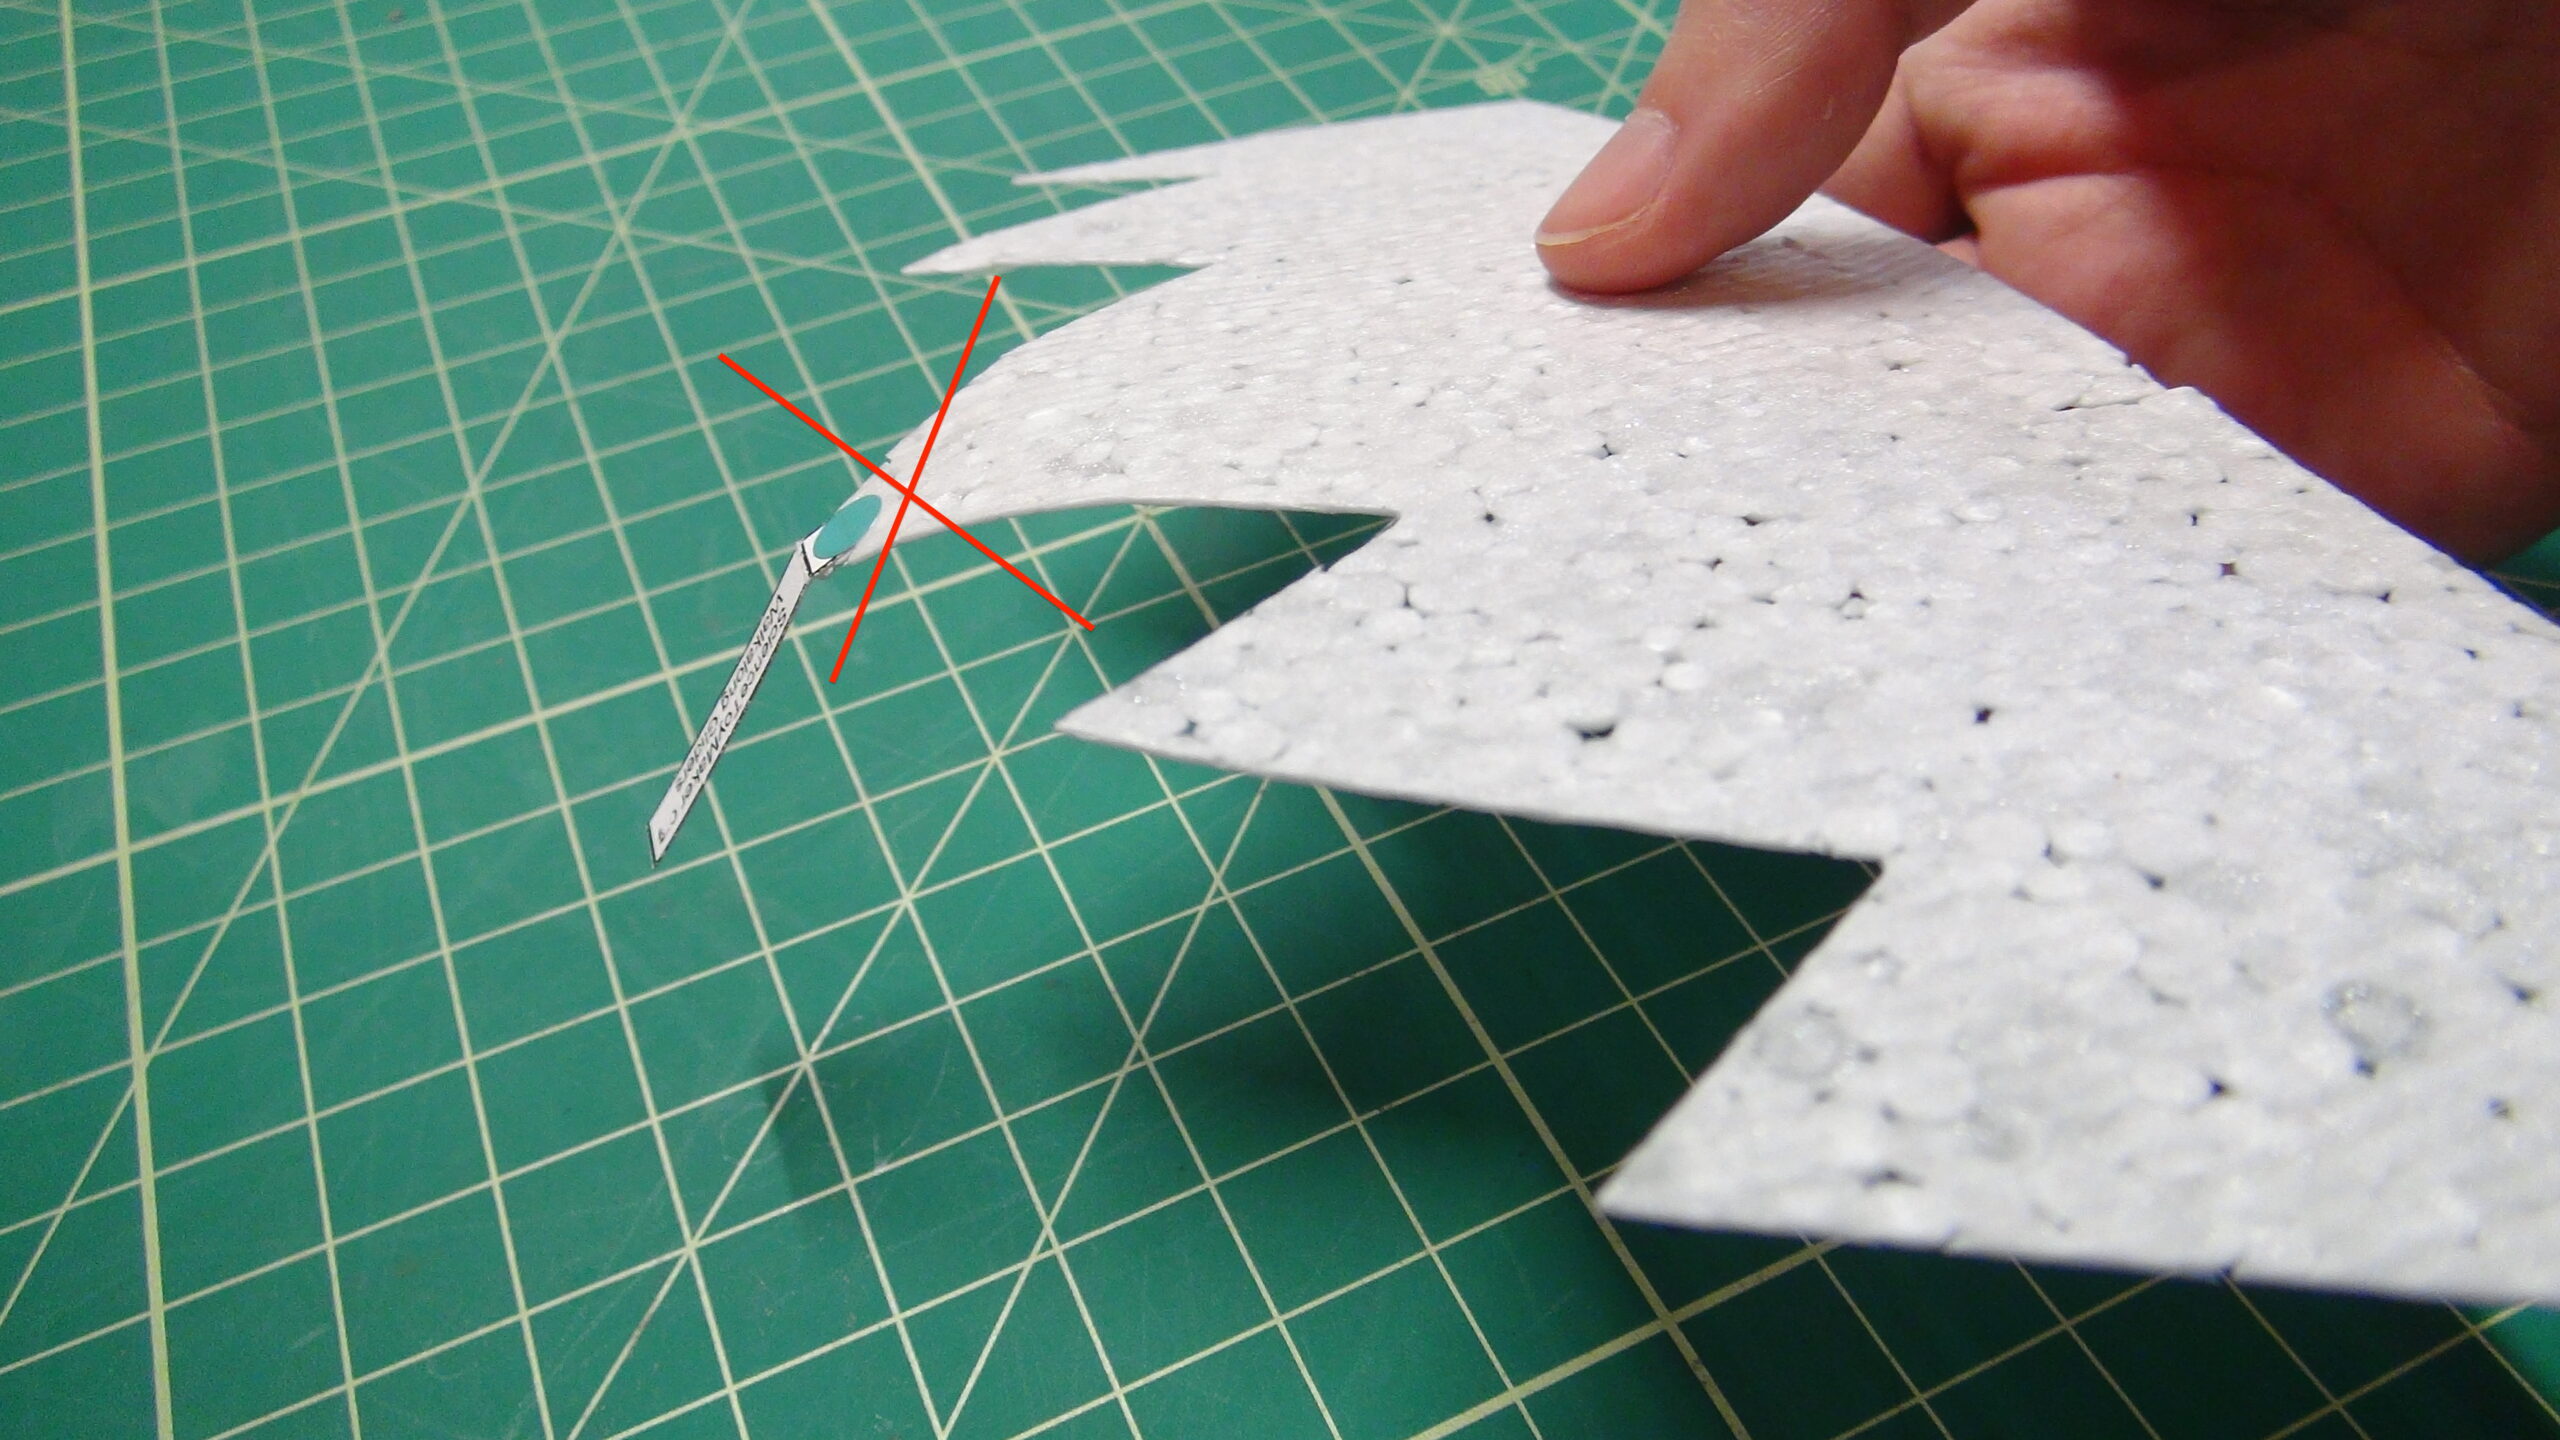
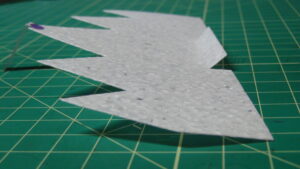
Step 6: This photo shows the right way to fold the landing gear down about 90 degrees. Notice the landing gear is bent but the foam remains flat.
Step 6 (continued): This crossed-out photo shows how the foam got bent along with the landing gear. If that happens, just curve the foam the other way to flatten it again.


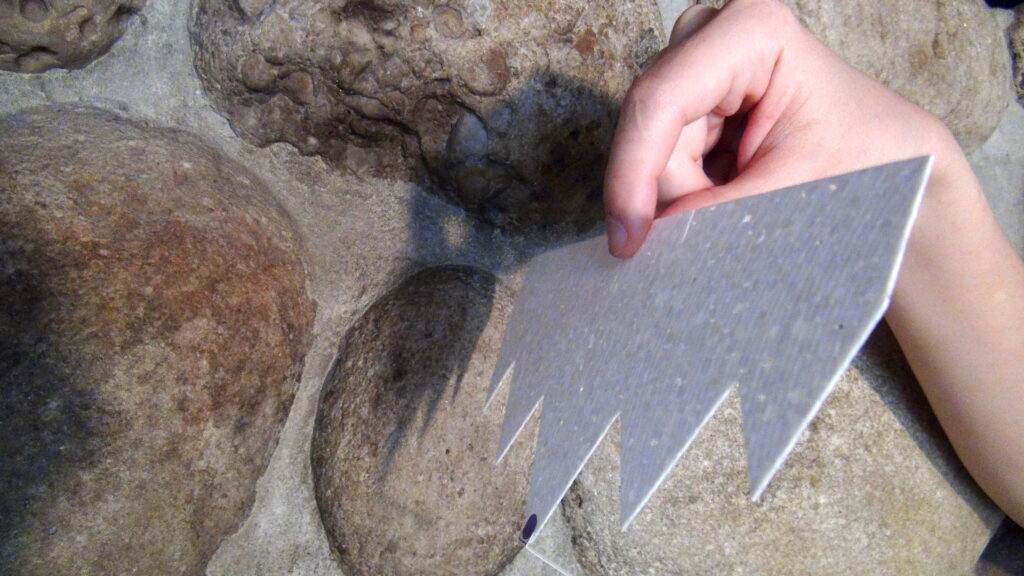
Step 7 (optional): You can skip this step, but it’s interesting. If you hold the glider from the back, tip it down and let go, it will dive to the floor and be unable to recover. But in the next step you will fix that problem.


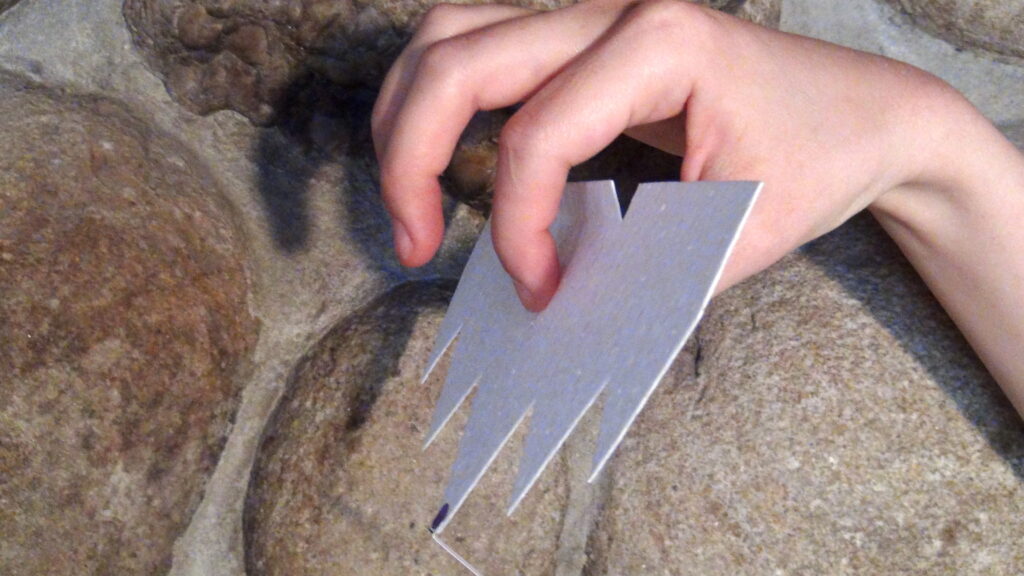
Step 8: Use a thumb and finger to bend the back flap (called an elevon) up, about 45 degrees up. It is OK to bend it too much; then bend it back to 45 degrees. Notice that the landing gear is bent down and the elevon is bent up.


Step 9: Now if you hold the glider from the back and let go, it pulls out of the dive, right into a beautiful glide. Congratulations, you’ve made your glider. This old video is still the best for learning to fly despite some rough editing patches.


FOR RETURNING CUSTOMERS: Here is the difference between the old and new Jagwing design:

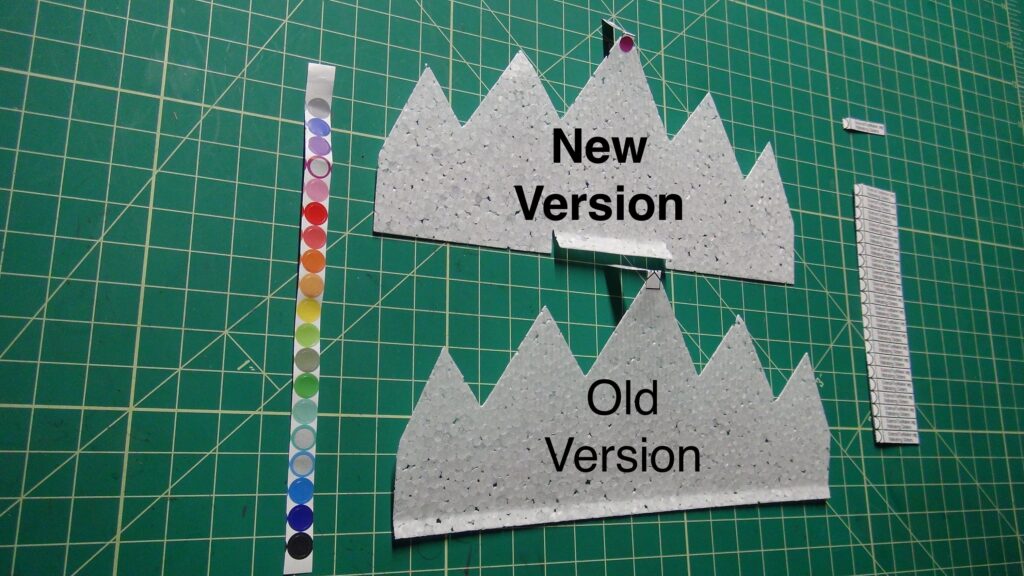
The old Jagwing has the elevon folded all the way across the back. Kids had trouble freehand bending it. If they used a bending jig or taped on a pattern, it took a long time—a problem if they only had a class period to make and fly—and that method of folding imparted static cling to the foam. So then the glider would stick to the board unless they took even more time to discharge the static. But with the new design, above, the shorter but fatter elevon is easy to bend up with a thumb and finger since the sides are already cut.
The other change is how the front weight/landing gear is attached. 3/4" and 1/2" tape widths are common in schools. A square of 1/2" tape has a significant weight difference than 3/4", and that affects the pitch characteristics. So now I am bypassing that whole complication by sending along round stickers so there is uniform weight.

Welcome to Air Surfing!

(AKA Walkalong Gliding)

"Any sufficiently advanced technology is indistinguishable from magic." --Arthur C. Clarke

If YouTube is blocked at your school, try this 16MB MPEG file

How to Start Flying Any Design of Glider

Introduction to Walkalong Glider

The first time I encountered gliders levitated and controlled by an invisible wave of deflected air, it felt like magic! Surely this was going to take the world by storm, the way Mentos and Soda swept the world as a science activity a few years ago. But while researching the history of walkalong gliders, I was surprised to learn that the concept of surfing the gliders is decades old. Knowledge about them was cloistered within a few aerospace engineering and hang glider communities—definitely not in schools.

As an educator, I set about to make walkalong gliders accessible to regular people as a fun science activity by developing thin (1/2 mm) foam gliders that are an order of magnitude lighter than paper. Only a few times denser than air itself, they fly so slowly that beginners have time to think and react. If I walked beside you and we both held onto the board, then you could learn to fly in minutes because that way you gain a feel for flying. Soon you would be swooping around your house flying as easily as you ride a bicycle.

And the thin foam gliders are so efficient that advanced pilots (with practice) can levitate them with only their hands deflecting the air! The foam sheets are inexpensive to buy or slice your own--no one is excluded for lack of money. I find that kids around the age of 10 start having enough coordination to fly them.

So NOW the activity is going to catch fire, right? No. Any knucklehead can drop Mentos in soda, but walkalong gliders demand more. You don’t need to be flight savvy to start, but you have to pay attention to details. For one thing, the thin, light foam is also very delicate. The gliders won’t break from crashing into walls, but careless/nervous hands will wreck them in seconds. Even adults lack an analog for handling something that carefully--unless they’ve cuddled with a pet butterfly. Furthermore, the gliders need dead-still air, which usually means not outside except at dawn and dusk. Even aggressive HVAC systems and cause too much air turbulence inside. And although I can easily show people how to fly, being the first in your region with nobody to show you is more difficult.

Some people will be daunted by these eccentricities of walkalong gliders. But inspired pioneers--who care a little more about details and work a little harder to learn new things--are spreading walkalong flight in the world! Here are some tips for teaching groups to fly.

 Learn to Fly Walkalong Gliders

Flying an already-made glider is the best way to begin and all packages come with a couple of RTF (ready to fly) gliders. This video shows the best way I know of how to learn.

Teaching a group to fly? Here are some tips.

 Get Gliders and Foam Sheets

Using gliders made from thin, low-density EPS (expanded polystyrene) is the best way to get started. Foam is extremely lightweight and slow-flying, so you have time to think and react. Thin sheets of EPS foam are much lighter and more rigid than paper, and inexpensive, too. Get gliders and foam here.