1 1/4"Slip Joint
So you don't want to buy a long piece of 1 1/2" pipe when you only need 2 inches of it. Before you make a substitute from scratch (instructions below), observant correspondent Andrew Baillie of Atlanta discovered that you could simply substitute a 1 1/4" "slip joint" (pictured below). It has the correct inside diameter and is already 2" long. Why didn't I think of that?!
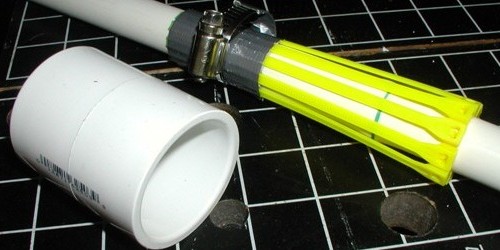
Neither the inside or the outside diameter ever actually is the inch designation of pipe. The inside diameter of the 1 1/4" slip joint--the measurement that matters-- is about 1 5/8". And if you are working with metric pipe, the inside diameter of the slip joint should be about 42 mm.
Make a Substitute from Scratch
If you cannot get either 2 inches of the 1 1/2" schedule 40 pipe or the slip joint, there is a workaround. The same tough plastic that allows 2-liter bottles to withstand high pressure can also be cut up and formed into a pipe.
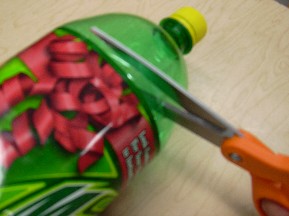
Cut into a 2-liter bottle above the label, as in the picture above.
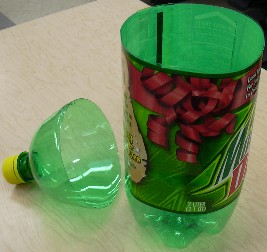
Cut around the bottle, right on the edge of the label. You will not use the top, but it does make a good funnel.
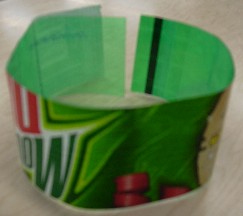
Measure and mark 50mm (2") from the top of the bottle, several places around the bottle. Cut down to a mark, then turn 90 degrees so as to cut out a strip 50mm wide.
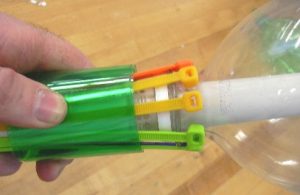
Peel off the label. The next part is easy to show someone, but difficult to explain. The bottle must be pushed onto the bulge, and ties adjusted so they fit over the handle of the bottle--as shown in the picture below. Have piece of duct tape already cut because your hands will be full when you need it.Wrap the strip of plastic that you just cut around the ties. Do not wrap it where the heads of the ties are. Wrap it fairly tightly. Don't let go or it will unravel.
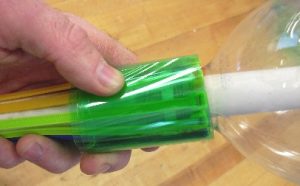
Still holding onto the wrap of plastic, slide it up and over the heads of the ties (you can see them through the green plastic in the picture below). The wrap of plastic unravel a little bit to get big enough to slide over, but do not let it get very loose. The friction as it slides over is what holds the trigger in place until the rope pulls it.
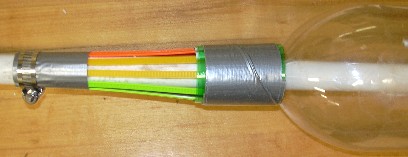
Without letting the plastic unravel, put the piece of duct tape on it so now the duct tape keeps it from unraveling. Then wrap at least 4 more layers of duct tape around. There will be lots of stress on this part when the bottle is full of pressure. When the slide trigger/pipe is slid over the heads of the ties as pictured below, you should not be able to take the bottle off.
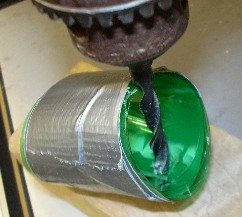
A rope must be firmly attached to the trigger you have just made so it can be pulled from a distance. Either drill a hole for the rope, or tape the rope on with duct tape. If you drill, it is almost impossible to drill from the top because the plastic squishes. Instead, angle the bit and drill into the bottom as shown in the picture below. When the hole is drilled, thread the rope through and tie it somehow.
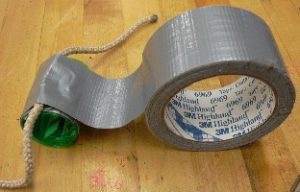
Alternately, you can tape the rope on. It is best to weave the rope through several layers of tape so it does not come off. Tape on rope with about 150mm (6") sticking out as in the picture above.
