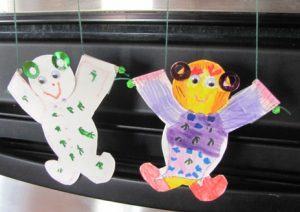
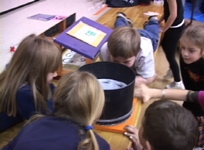
Christine Nguyen sent me these pictures of her kids racing the climbing creatures...
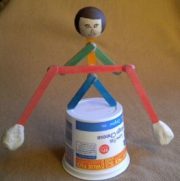
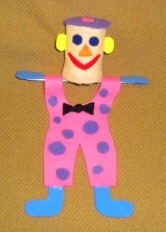
...and they redesigned them. In fact, you can use any shape, as long as the straws are separated and taped at the correct angle. There's no functional reason why the straws must be at the end of arms. They could be in the middle of a lady bug, for example.
This creature that mysteriously climbs up and up as you alternately pull the strings down is one of the first science toys I set to figuring out as a kid. The only problem was that it was cut and drilled from wood--too hard for kids to make. So I have developed an easy-to-make version that uses thin cardboard and straws that even young elementary students can make with a little help.
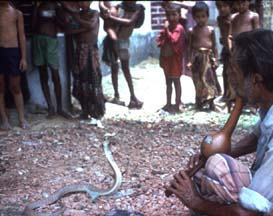
When I lived in Bangladesh (in South Asia, next to India) I was intrigued as much by the musical instrument the snake charmers played as I was by the snakes.
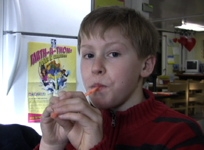
I was so taken with the snake charmer's instrument that I bought one. How could an instrument made only of bamboo and a hollow gourd--held together with wax--produce such an exotic sound? I set about some research and discovered the motley reed family of instruments. Saxophones, harmonicas, accordions, bagpipes, clarinets, snake charmer’s pipes and even duck calls (ergo the attention-getting name "snake charmer's duck call") all use "reeds" to make music. And so can you!
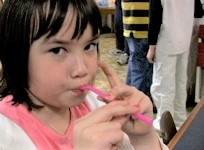
This is a great project to do with groups of kids. It only takes scissors and a straw, and with practice you can play a recognizable tune on it.
Bounding Cat I...um...liberated it from a fantastic Howtoons page (note: the page doesn't exist any more) about making a related device, the zoetrope. You can just cut the slots the regular way--don't worry about cutting into the images.
Update: I have a friend who is a dedicated teacher in Germany named Thomas Buchwald. He makes amazing projects with his students and he has helped me improve several science toymaker projects, including this one. I told Thomas that many people, when they started using the movie wheel, the circle would rub against their hand. That stopped it too soon. In less than a day he figured out what I still couldn't figure out for years--that simply gluing a piece of foam in the middle would keep the circle straight. So if you have trouble with the circle rubbing, copy what you see at the beginning of this video clip. Thanks Thomas, for filling in my blind spots!
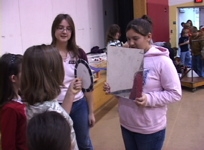
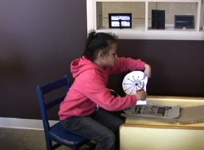
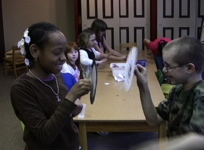
The instructional video starts with a science road show where my strudents show elementary school kids science exhibits, including movie wheels and zoetropes. It's a technology that's over a century old, but it's an unworldly experience that the kids get a huge kick out of!
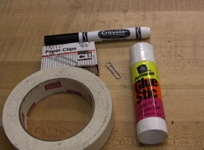
Then it's on to making your own movie wheel. It is simplequick and to make--only about a half hour. The kids at the YMCA after school program help me show you how. The pattern you will use is here
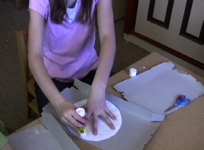
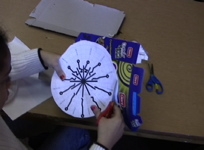
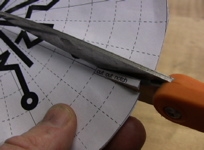
They glue the pattern onto the thin cardboard, rough-cut and fine-cut. Accurately cutting the notches is particularly important to making the movie wheel work.
They darkened between the notches for the same scientific reason the best window screens are dark colored: to absorb unproductive light that would otherwise reflect into their eyes and cause glare. A paper clip provides a way for the movie wheel to spin. But the spinning images are just a blur, unless...
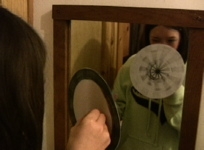
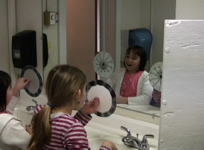
There are some tricks to using the movie wheel. The darkened side faces toward you. You spin the wheel and the look through the notches into the mirror (you need good light, too). Almost magically the images seem to come alive. There is a way to get around the need for the mirror if you have two people with movie wheels. Finally the instructional video talks a little about peristence of motion, the principle that makes the movie wheel work...and movies and TV.
Learn some new tricks, see examples of animation, and make your own.
Learn some tricks
If you look through your spinning movie wheel at a friend's spinning movie wheel, you do not need a mirror! A group of kids I was working with discovered this.
If you have an old computer monitor or TV with cathode ray tube, not flat screen but fat one, try this:
Get in front of the TV or computer monitor. Spin your wheel and look through the slots at the monitor. Why the dark bands? The fact is, old TV and monitor are flashing a new picture onto the screen 30 times a second. Not 30 times a minute--30 times a second! And in between the flashes the screen is dark, about half the time--even though it's on. We don't detect this bizarre state of affairs unless we do something to cut through the blur. Movie wheels, like strobe lights, let us see high-speed repetitive (also know as "periodic" motion). You can also use the movie wheel to see the reeds flapping on the "Snake Charmer's Duck Call" project.
Ok, ready to design your own animation?
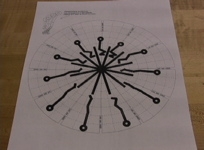
Print out this page. Some browsers and PDF viewers change the scale and the size of the printed pattern. Choose the print options that say something like "Actual Size" or "Scale: 100%." The grid pattern is there to help you keep you bearings as you go from one frame to the next. You might want to start with something simple, like a bouncing ball, or turning propeller.The best movie wheel strips:
use bold, dark lines (you can sketch out in pencil, but go over with magic marker or something)
move just a little from one frame to the next
go back to where they started by the end of the strip
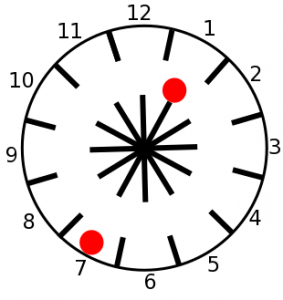
Let's do a simple example to warm up on: a bouncing red ball.
I draw the ball at the bottom of its bounce (frame 1 in the first illustration). I also go to the opposite frame (frame 7) and draw the other extreme: the ball at the top of its bounce, right against the edge of the wheel.
Step 1
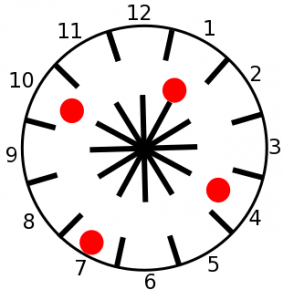
Step 2
Now fill in the in-between frames 4 and 10. In those frames I place the ball half-way in-between the extreme positions. The faint, dashed lines can help you place the ball accurately.
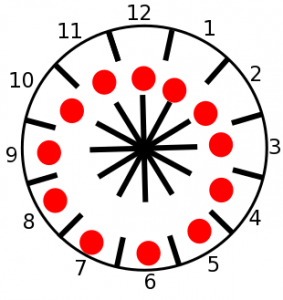
Finally, I fill in the other frames. In frame 2, I have to estimate 1/3 of the way from frame 1 to frame 4. In frame 3, I place it 2/3 of the way from frame 1 to frame 4.
Step 3
Viewing this bouncing ball will be a bit odd at first. It will look like an wobbling, off-center red circle until you focus on just one frame.
Now you can make your own
How can you develop this strip? Could you make the ball squish when it hits the bottom? Could you make it slow down at the top and accelerate near the ground as a real bouncing ball would do?
Take it a step at a time. When you get advanced, you can make make objects travel from frame to frame. Notice that the jumping-guy pattern (the first one you made) has only 11 guys for 12 frames. The jumping-guy advances 1/11th of the way in each frame. I could have accomplished a similar movement with 13 guys.
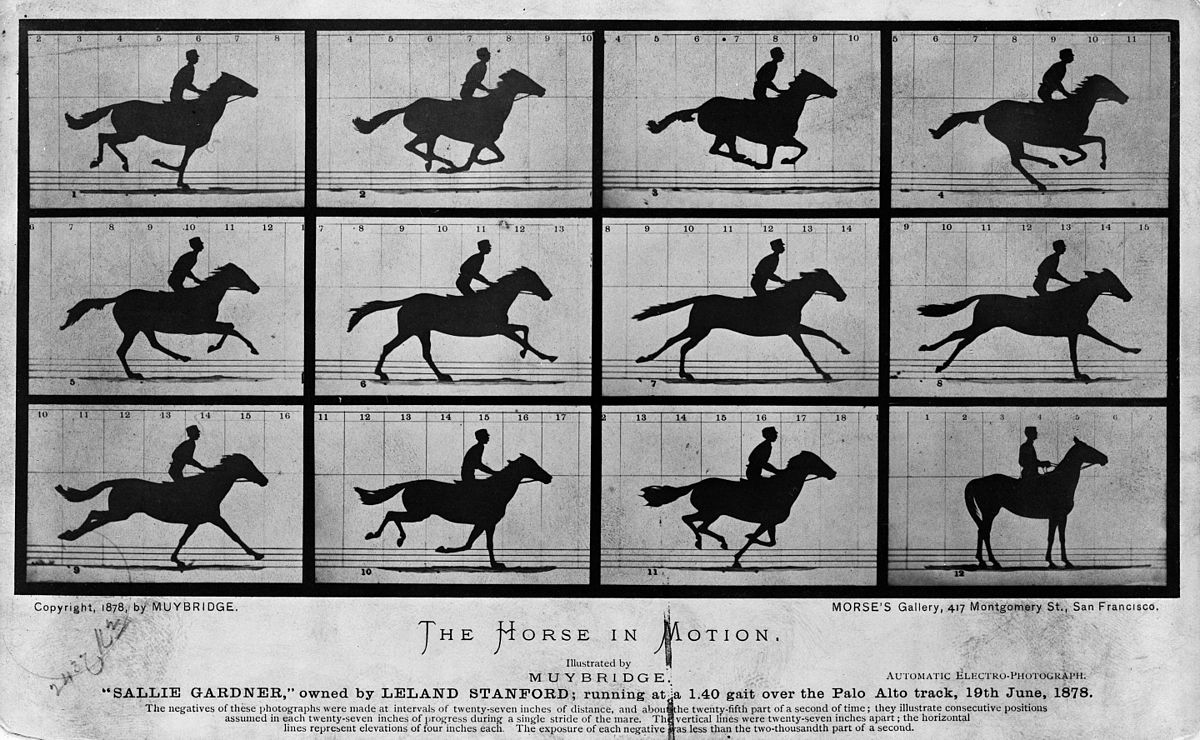
By Eadweard Muybridge - Provided directly by Library of Congress Prints and Photographs Division, Public Domain, https://commons.wikimedia.org/w/index.php?curid=57260211
Here is an excellent page about animations with some interesting videos and links by Cheshire Public Library in Connecticut.
The Exploratorium has always been an inspiration to me. Here are some of their science "snacks" about visual perception that are easy and can be set up in minutes.
I'd like to know how this project goes for you. I'm happy to answer questions about it. Feedback from you is an important way for me to know what works and what needs clarification.
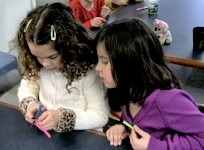
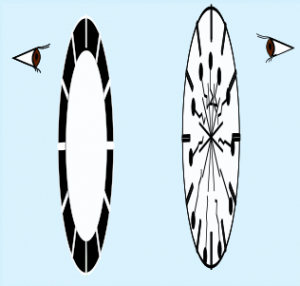
The thaumatrope is a good warm up for the movie wheel and it only takes a minute to make. The mysterious message written on the thaumatrope pattern will appear when you spin it. Interestingly, the thaumatrope preceded --and led to the invention of-- the movie wheel.
Print out the pattern. Check the printed paper to make sure it did not re-scale the size of the pattern. Some browsers and PDF viewers change the scale and the size of the printed pattern. Choose the print options that say something like "Actual Size" or "Scale: 100%."
Cut on the solid lines. Fold carefully right on the dashed line so the printed part is on the outside. Using a strait edge or a table corner will help make the fold straight.
STEP 2: Tape in the string and tape halves together.
Tape a string onto the non-print side so it splits one of the halves, as shown.
Tape the halves shut. You should now have a two-dimensional rectangle with letters on both sides a string splitting it right through the middle.
STEP 3: Try it out
Twirl the thaumatrope by rolling the string between thumb and forefinger of each hand as fast as you can. If you are using dental floss, sometimes you have to roll it awhile before it works smoothly. If using a thin rubber band, pull it slightly as you spin it. You should see "PERSISTENCE OF VISION." That expression was used to explain how we perceived animation. It is being superceded by the expression, "phi phenomenon."
Here is a blank pattern if you want to make your own design. You can cut it shorter if you want to.
I'd like to know how this project goes for you. I'm happy to answer questions about it. Feedback from you is an important way for me to know what works and what needs clarification.
Here is a preview of what it's like to use a movie wheel (with the cat pattern), from my friend Thomas Buchwald. Thomas also figured out how to keep the wheel stable, with a small piece of foam glued on, which you can see at the beginning of the clip.
It's the ultimate optical illusion
They say that, "Seeing is believing." But however real the worlds that movies and videos create, they will always be a clever optical illusions."Animation" means "brought to life," and you can rediscover the excitement the pioneers of animation felt as they breathed life into pictures
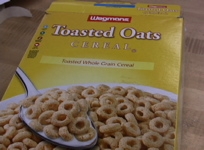
It takes little more than half an hour to make a movie wheel out of a recycled cereal box. You could spend a lifetime watching TV without ever understanding how our eyes can see still images seem to come alive. But when you build and use a movie wheel, you can't help but start to grapple with "persistence of vision," the principle that allows our brain to see progressions of still images as moving.
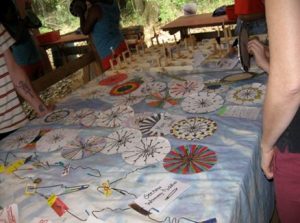
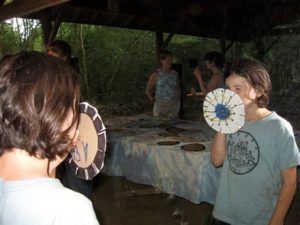
Here are some pictures from North Carolinian Louise Omoto Kessel--homesteader, homeschool mom and camp organizer showing the camp museum of various and some kids using them without the mirror.
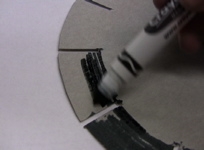
Print out the pattern on this page. Check the printed paper to make sure it did not re-scale the size of the pattern. Some browsers and PDF viewers change the scale and the size of the printed pattern. Choose the print options that say something like "Actual Size" or "Scale: 100%. Only 4 patterns of the six we want fit on a page, so if you don't want to reuse a couple of the patterns, print out the page twice. Although it is possible to make the top work with just one disk, I have the most success when using six disks. The combined mass seems to create tops that are less fickle.
It happens that you can get six full size disks out of a milk carton. First cut the bottom off a milk carton. Cut close to the bottom because it's easier to cut with a knife and enough of the remaining carton remains to fit all the patterns on. Pull open the rest of the top of the carton. You already opened half when you opened the spout. Cut the carton lengthwise on one of the corners (it doesn't matter which) so you can open it to the inside.
Rough cut (bubble cut) patterns and tape them on the carton with "tape doughnuts." Don't cut disks from the side of the carton that has the seam. The seam is double layer, so it will throw the top out of balance. And don't put the pattern on a fold (the disk will be stronger without a fold). Cut out the circles, but do not remove the pattern until you have punched the holes.
Step 2 Punch holes in the disks
I offer this idea for punching the holes in the center of the disk, which I think is the safest way to do it: First, put on a table about 4 layers of a wash cloth, towel or anything sort of soft like that. Lay the disk on top and punch a small hole with a ball-point pen. Then pick up the disk and enlarge the hole to the diameter of a pencil by pushing and twisting the pencil in. This would have been a dangerous operation if not for the small hole. With the small hole there, our fingers can feel exactly where the pencil is coming through, and we place our hand so it goes in between our fingers. Try it, and I think you'll see what I mean even if I haven't been able to explain it in words very well. I still think that young kids should only cut the circle out and let an adult punch the holes.
Step 3 Assemble the top and try it out.
Skewer all six disks onto a long, sharpened pencil. Push the disks close together and tape them together in at least four places. Push the disks as far toward the point as you can without them falling off.
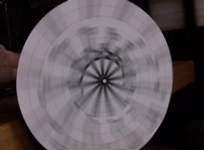
Test it on a scrap of white paper. Hold the pencil between your palms, spin and let go. It should not only spin, but also scribble little circles that will record every vibration of the top on the paper. Now experiment.
For a simple toy there are some very complex things going on. Try it with the disks pushed up more toward the top (although you are unlikely to get it to work with the disks on the upper two thirds of the pencil). A move of half an inch can make the difference between wobbling around uselessly or working. Try different sized pencils. Sometimes the top will spin. Sometimes it won't. Experiment.
More About Tops Explanations and cool links related to tops and precession
I hunger for an intuitive understanding of the science in the world around me. Precession--the effect that makes tops and gyroscopes behave as they do--is so counterintuitive that it almost seems like you would have to study magic to understand it.
Take the common physics demonstration with a bicycle wheel that is both very easy to do and very weird. The front wheel of a bicycle is easy to take off (but don't do it unless you're sure you can get it on straight again). Tie a string to one end of the axle. Spin the wheel very fast while it is vertical (this is much easier to do with two people). Then hold the spinning wheel by the string. IMPOSSIBLE! It retains its vertical position and slowly circles around the string. It seems to defy physics, but it is physics. Specifically, that's precession.
Taking off the string, you can hold the fast-spinning wheel by the axles. Turn in gently one way, but it actually turns 90 degrees to what you intended. It's almost as if ghost hands are intervening. Many science museums allow you to do a closely related activity on a spinning chair.
Fun, but why does it do that? If you have a rudimentary understanding of momentum (objects in motion tend to stay in motion) and are OK with the concept of directional force (as in a push), you might be able to really understand the following explanation of precession. It comes from HowStuffWorks, which is a really fun web site to wander in. The explanation is in two parts: how a side-way push on a section of a wheel keeps acting even when the section rotates to new position, because of momentum. And, secondly, how the force in the direction you meant to push the wheel is canceled out by an opposite force. If you take the time to read the explanation, tinker, and re-read the sentences, you might get it. Willing to have a go of it?
I don't care if my ancestors were playing with this folk toy a century ago. It is as magical today. And it will be just as fascinating to future generations even if we harness nuclear fusion for power and interplanetary travel becomes routine. That's what "classic" means: timeless, immortal.
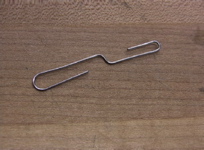
If you haven't crossed paths with a magic propeller stick (also known as a whimmy-doodle in Appalachia), you're in for a treat. You hold the stick in one hand and rub bumps on it with another. Mysteriously, the propeller spins fast... really fast. Some people can make it reverse direction at will.
There is some cool science going on here. In the "more about" page I will make the case that this propeller is closely related to such seemingly disparate subjects as hula-hoops and modern industrial fasteners. This project lends itself to endless experimentation. Change the propeller shape? Sure! Make multiple propeller heads like a mythological Hydra? Go ahead and try it. I have a lot of fun when I make this project with groups of kids, seeing the creative variations they come up with.
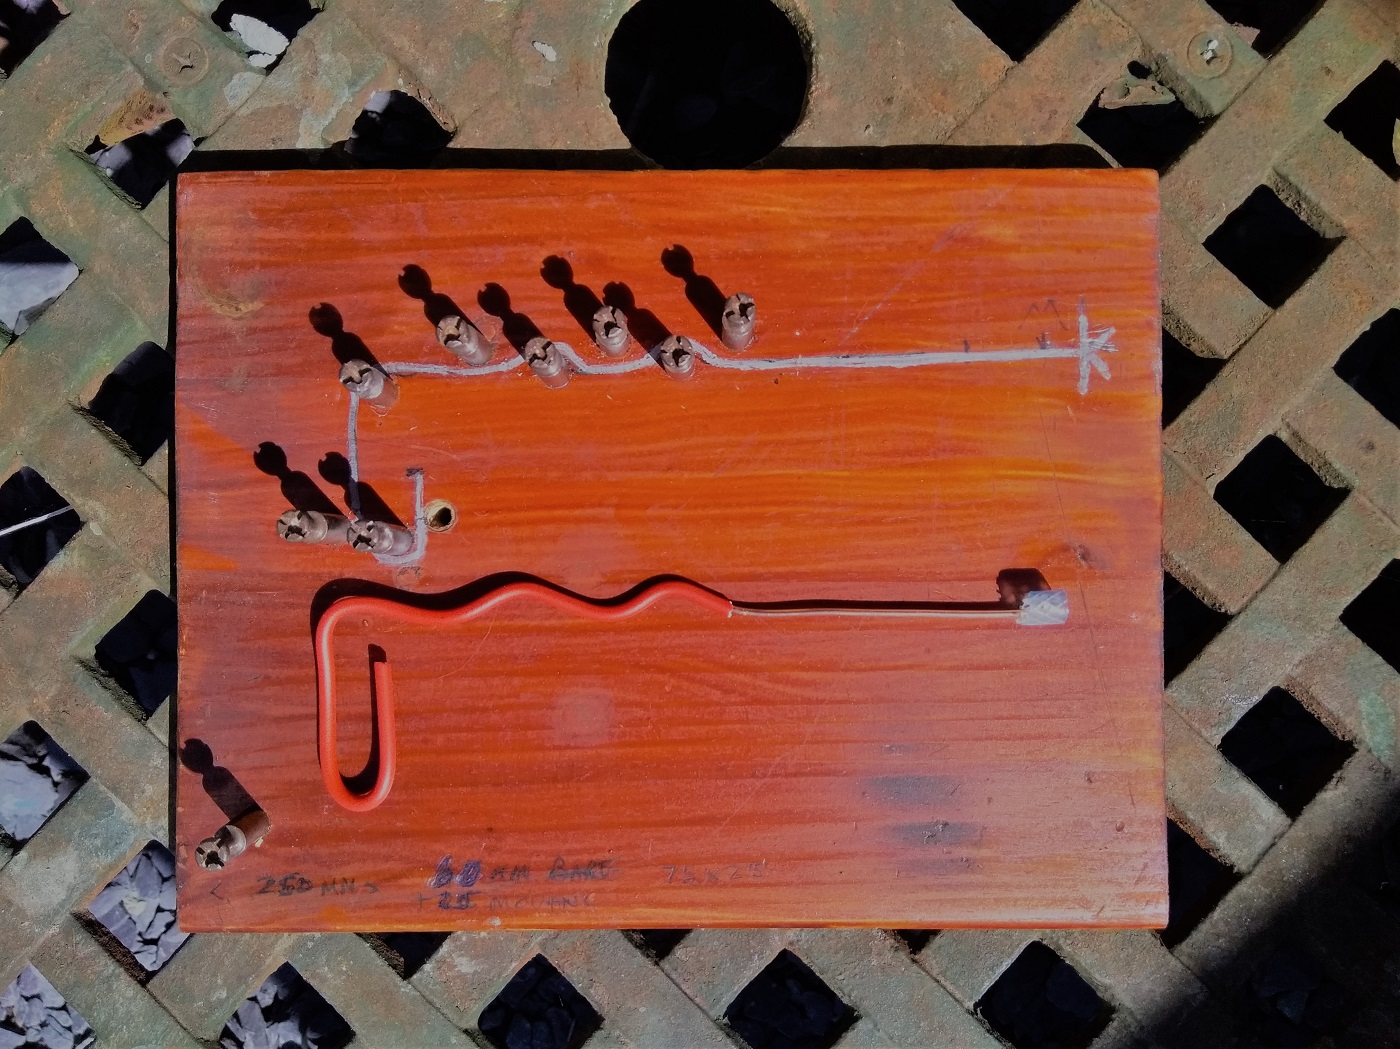
Traditionally, people have whittled notches into a wooden stick with a pocket knife to create the bumps-- not a very safe elementary project. I offer this easy-to-make version that uses a coat hanger or other wire with a couple of wavy bends instead of the whittled notches.
Feedback
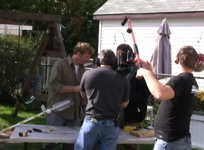
Bob William in the U.K. volunteers at a kid's club, bringing lots of hands-on science activities and projects. Bob came up with a clever bending jig to make the propeller stick available for 30 kids. Bob used 2.5mm copper cut to 25cm (10 inches). Copper could be expensive, but he had it leftover from an old job.
An 8 year old helper stripped off some of the insulation and the kids--at least 7 years old--used the bending jig themselves. If someone was unsure or having difficulties, 10 year old helpers assisted them.
Bob has made air and water rockets as well as rubber band-powered planes with various groups. I had to laugh when he wrote, "I have another meeting on Wednesday for mixed ages from toddlers up so I'll present the popular "moose call" activity. Thanks for that, although some parents may express other sentiments when the kids get home."
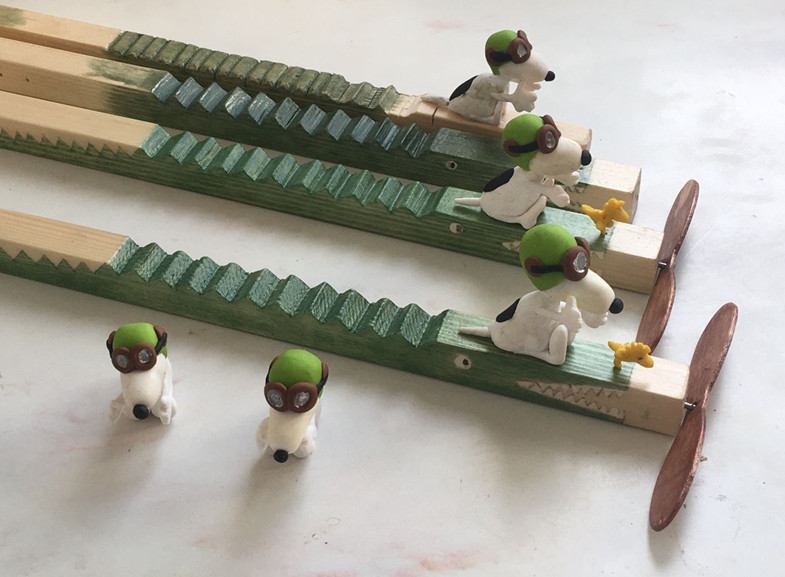
Michael Deal, a retired Physics teacher and model airplane enthusiast, also in the U.K., has been coaching me about amazing projects like camphor boats, rattlebacks (he made one out of a spoon) and magnet toys--often things that spin mysteriously. I hope share them on this website when when I get caught up. And this is the most creative propeller stick that I've ever seen! He makes them as Christmas presents, calling them "Sopwith Crocodiles". The Snoopy figures are so intricate that I thought they must be bought, but a close look at the farthest reveals that it's a prototype. When I asked about it, Michael said one trick is to add the oven-hardening mouldable plastic in stages--heating multiple times in the oven is not a problem. He used internal wire, especially for Woodstock (which represents the "Spirit of Ecstasy" mascot on Rolls Royce cars. Snoopy is giving the thumbs up to the ground crew (you) to start the engine.
The Quick and Easy science toys are suitable for young kids, with a little help here and there. I used to make them with large groups of elementary age students. They generally take about half an hour to complete.
The Movie Wheel and inventions like it ushered in the age of movies, then video. You can make pictures come alive.
Katrina shows us how to make a center of gravity Balancing Toy.
What shape rolls best? Katrina shows us how to make a Tumble Person.
Father and Daughter relate the classic Spinning Button project to Newton's Laws of Motion.
When heated to glowing and defracted to a spectrum, elements have a unique "fingerprint". Build your own Rainbow Spectro-Scope to find it out.
9 year old scientist Shane shows us how to make a simple Rubber Band Ball.
I'd like to know how these projects go for you. I'm happy to answer questions about them. Feedback from you is an important way for me to know what works and what needs clarification.
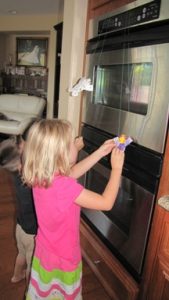 Christine Nguyen sent me these pictures of her kids racing the climbing creatures...