The Propeller Stick

A classic folk /science toy gets easy to make

I don't care if my ancestors were playing with this folk toy a century ago. It is as magical today. And it will be just as fascinating to future generations even if we harness nuclear fusion for power and interplanetary travel becomes routine. That's what "classic" means: timeless, immortal.

If you haven't crossed paths with a magic propeller stick (also known as a whimmy-doodle in Appalachia), you're in for a treat. You hold the stick in one hand and rub bumps on it with another. Mysteriously, the propeller spins fast... really fast. Some people can make it reverse direction at will.

There is some cool science going on here. In the "more about" page I will make the case that this propeller is closely related to such seemingly disparate subjects as hula-hoops and modern industrial fasteners. This project lends itself to endless experimentation. Change the propeller shape? Sure! Make multiple propeller heads like a mythological Hydra? Go ahead and try it. I have a lot of fun when I make this project with groups of kids, seeing the creative variations they come up with.

Traditionally, people have whittled notches into a wooden stick with a pocket knife to create the bumps-- not a very safe elementary project. I offer this easy-to-make version that uses a coat hanger or other wire with a couple of wavy bends instead of the whittled notches.


Feedback


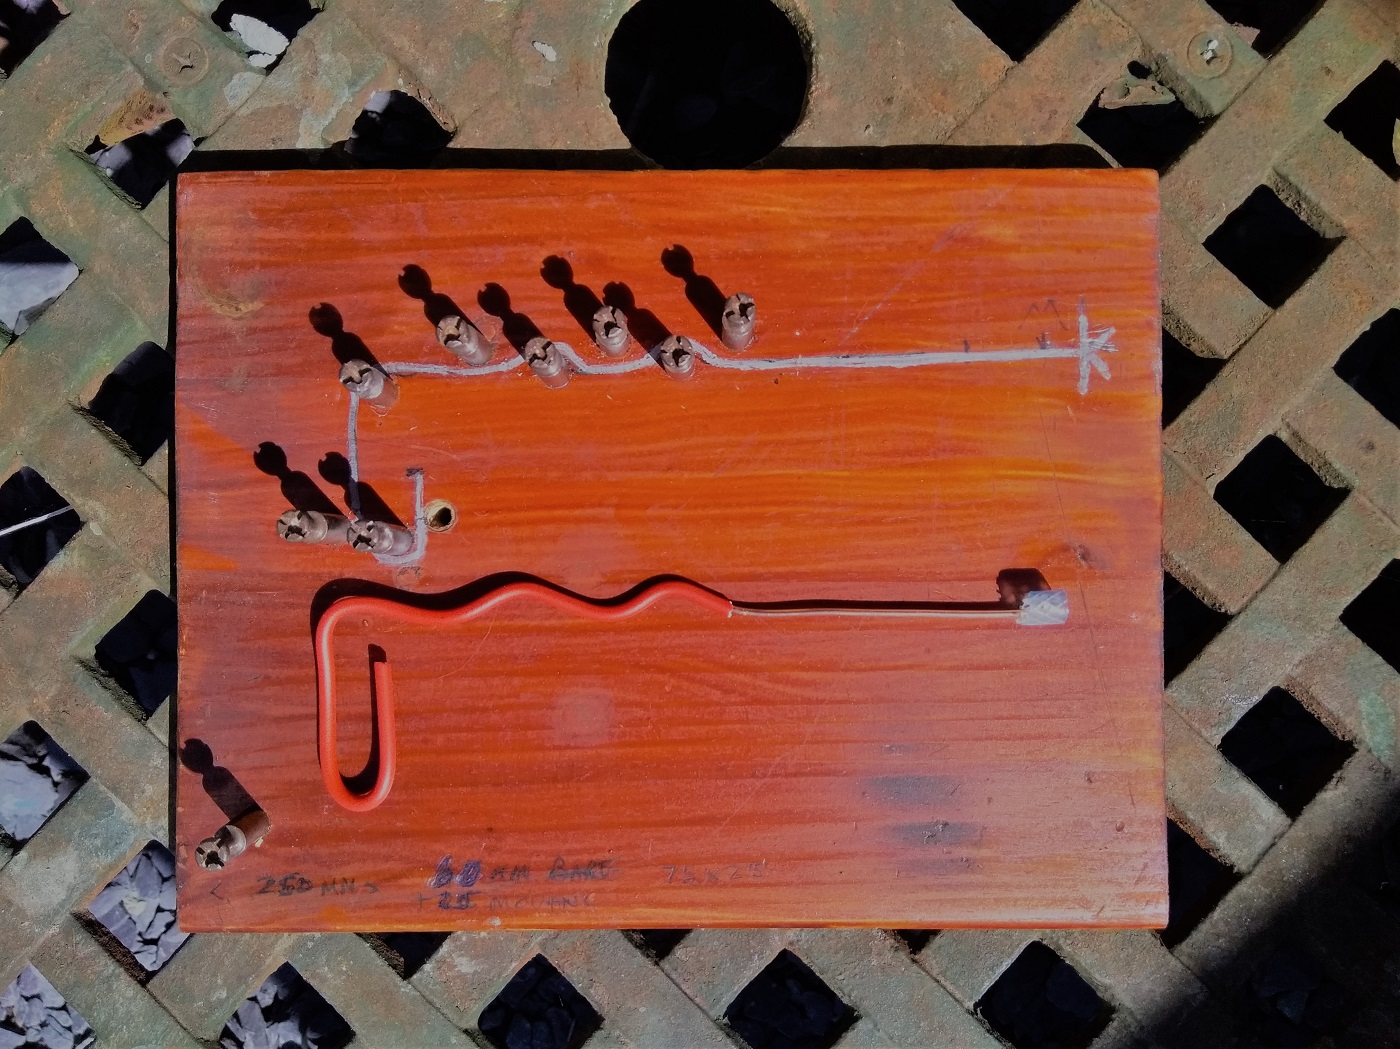
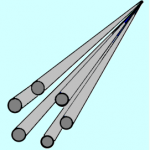
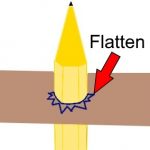
Bob William in the U.K. volunteers at a kid's club, bringing lots of hands-on science activities and projects. Bob came up with a clever bending jig to make the propeller stick available for 30 kids. Bob used 2.5mm copper cut to 25cm (10 inches). Copper could be expensive, but he had it leftover from an old job.

An 8 year old helper stripped off some of the insulation and the kids--at least 7 years old--used the bending jig themselves. If someone was unsure or having difficulties, 10 year old helpers assisted them.

Bob has made air and water rockets as well as rubber band-powered planes with various groups. I had to laugh when he wrote, "I have another meeting on Wednesday for mixed ages from toddlers up so I'll present the popular "moose call" activity. Thanks for that, although some parents may express other sentiments when
the kids get home."
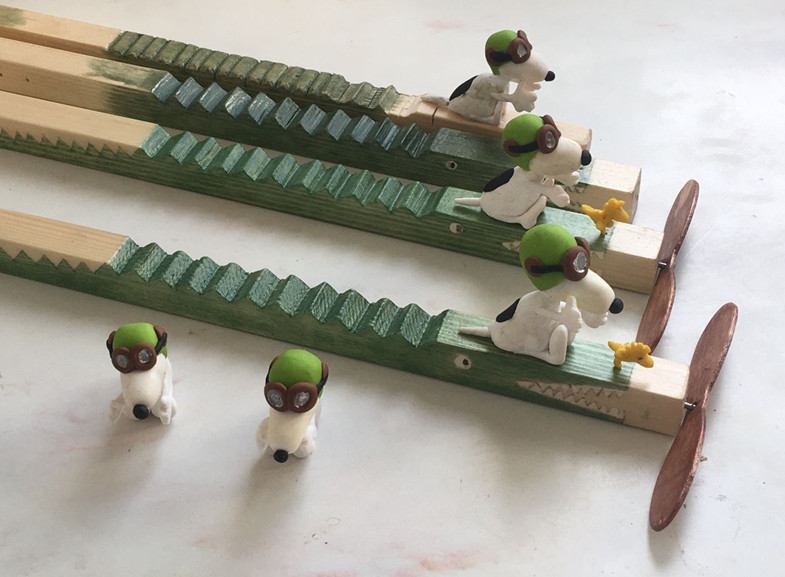
Exploring The Propeller Stick

Exploring why the propeller spins:

I used to have a bicycle that would shake itself apart, literally. Bolts holding on things like fenders would loosen themselves mysteriously and fall off. I sort of figured it had something to do with vibration, but I didn't really intuitively get it. It wasn't until I worked out how the propeller stick works that I understood why my bike was shaking apart.

What I discovered was that both the prop stick and loosening bolts work like hula-hoops! Think about how you try to keep the hula-hoop spinning. You wiggle your body in a circular motion, right?


Now try to imagine that your body is the the wire of your propeller stick, and the hula-hoop is the propeller. You might want to imagine rectangular cardboard taped to the hula-hoop, so it looked more like a propeller.
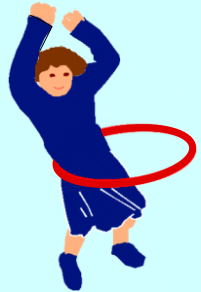
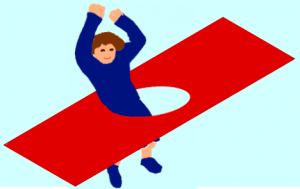
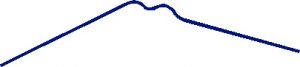
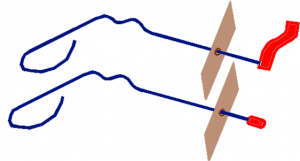
If you could use time-lapse photography to show the motion of the wire at the end of the propeller stick, I believe you would see a circular vibration such as the illustration on the right. Notice that the motion is similar to what you would do with your hips to make a hula-hoop spin.

Let's test the idea. Using the same cereal box cardboard you used for the original propeller, make a cardboard propeller about 2" by 5". Next cut a hole in the middle about as big as a U.S. penny. I think the easiest way to cut the hole is fold the cardboard in half, then cut out a half-circle at the fold.


Now take a pencil, put the eraser end through the cardboard, and move your hand in a fast, circular motion. You should be able to get the big cardboard propeller to twirl. With this bigger model, it might be easier to investigate how motion is transmitted to the prop.

I now own a backhoe (which is not a toy, despite some insinuations to the contrary from my wife) with giant bolts exceeding an inch in diameter, and guess what? A couple of them have shaken loose! Industry spends hundreds of millions of dollars making fasteners that will come off when you want them to, but not shake loose. That's why "national fine" screw threads were invented, why bolts are "torqued," why there are special nuts and lock-washers. Nuts and bolts turn by themselves when subjected to circular vibrations unless they are very tight.

Correspondent Steve Nieves informed me of this excellent video about the subject where you can actually see bolts turning because of vibration.


I'd like to know how this project goes for you. I'm happy to answer questions about it. Feedback from you is an important way for me to know what works and what needs clarification.

How to Make a Propeller Stick

What you need:

  • Wire: Any of the following work.
    • Coat Hanger: For a lot of people, this will be the only wire they have without having to go out and buy something. The thick ones can be a little hard to bend, so use the thinnest one you can find. You will need pliers to bend it again and again in the same place until it breaks. This is called metal "fatigue." You need about a 12" piece.
    • Utility wire: Small, inexpensive rolls of solid steel, copper and aluminum wire are available from building centers and hardware stores. Thickness is denoted by a gauge number for maximum confusion. The bigger the gauge number, the thinner the wire is. Typically you will find utility wire that's around 20 gauge.
      One strand of this wire is too flimsy, but doubling and twisting a double strand is perfect. Start with a 24" (2 foot) piece and fold it in half. Holding the two ends with pliers, twist the wires together with a pencil or pen. The red lines indicate a break--only in the picture. It was getting too long to show the whole wire on the page.
    • Electrical wire: By this I mean the stiff, solid wire used inside the walls of houses not the flexible stuff used for appliance cords. If you know an electrician, ask if they have any scrap "Romex," any gauge. From that you can cut out three pieces of wire (black, white and bare). Use the bare one first, or strip off the last two inches of insulation where the propeller will spin. You need about a 12" piece.

    • Electric fence wire: I happen to have a roll lying around. Even doing this project with hundreds of kids a year, I've got a lifetime supply.
  • Cardboard: I use cereal boxes to help make people aware of how much stuff we waste, but poster board works.
  • Scissors, pencil or pen
  • Paper-punch The paper punch is convenient and it leaves a clean edge that works well on the propeller stick. You can punch the hole in the propeller with a pencil or pen.
  • Pliers Pliers help bend stubborn wire.

Step 1. Bend the wire

  1. It does not have to look exactly like the example. It should have a couple of gentle bends in the middle. Use pliers if needed.

  1. It should have some sort of handle on the back end that allows you to get a firm grip so the wire doesn't twist in your hand. It should have a couple of inches straight on the front end where the propeller has room to spin.

  1. If you are using thin wire that you doubled up and twisted, make the loop the front and the two ends the handle end. The loop will keep the propeller from falling off.
  1. Make a propeller that's about an inch wide and about three inches long. Try to get the hole as close to the middle as possible. A simple and accurate way to locate the center of a rectangle is to draw a straight lines from corner to corner.

    1. If you have hole punch, use it to make the hole in the center of the propeller. Skip the next two paragraphs to the next step.

      If you don't have a hole punch, you can punch through the cardboard with a pen or a pencil. Put a washcloth or sock or something on the table and the propeller on top so you punch into the soft stuff.

      The cardboard that was where the hole is now--but is now pushed out around the edge--can get in the way of the spinning. Use your thumbnail or fingernail to fold those tiny bits of cardboard outward so they lie down flat against the propeller. They will spring back up somewhat. That's OK.

    Step 3

    Make a stop to hold the spinning propeller on.

    Skip this step if you made your propeller stick out of thin wire that you twisted because the loop at the front end will keep your propeller on. For everybody else, if you wrap several inches of tape around the front end, not only will it help keep the propeller on, it can also blunt the sharp wire end.

    Step 4.  Try it!

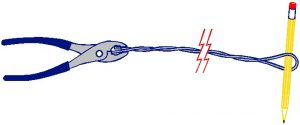
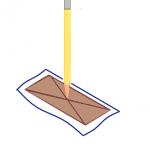
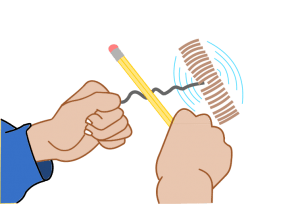
    If you are right-handed, hold a pen or pencil in that hand. Hold the pencil--not horizontally and not vertically--but at about a 45 degree angle. Grip the propeller in the other hand. Push the pen to the bumps firmly and rub. Once you "get it" it will be easy to get the propeller to spin furiously, but allow a few minutes this first time. Experiment. Rub fast, rub slow, hard, soft, vary the angle of your pencil.

I'd like to know how this project goes for you. I'm happy to answer questions about it. Feedback from you is an important way for me to know what works and what needs clarification.