How to Make the Climbing Creature

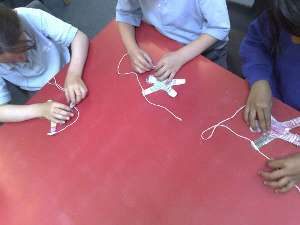
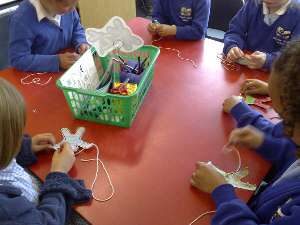
Ruth from the UK sent me some pictures of her students making the climbing creature as an old toy, part of their history project.

The only problem, she reports, was a mixup, at first, of inches (I've added some metric measures).
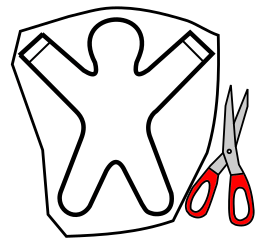
What you need:

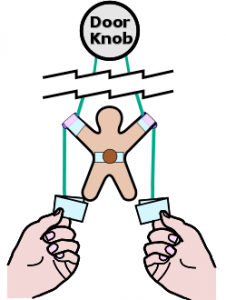
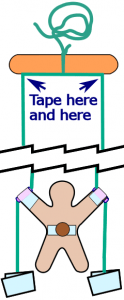
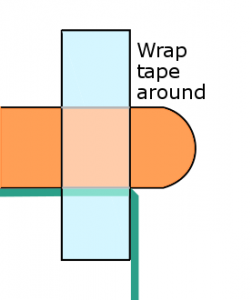
  • A piece of poster board at least 5" by 5" or 13cm by 13cm (it should be as stiff as cereal-box cardboard).
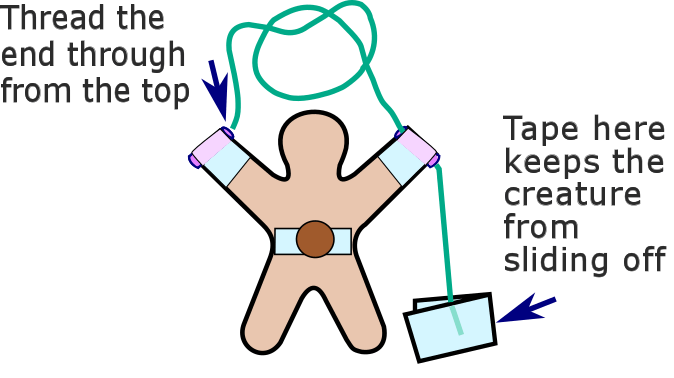
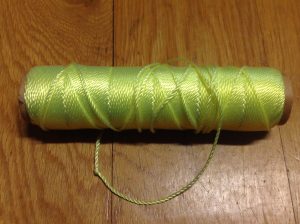
  • String (5 feet or 1.5 meters) Note: If you use yarn, it will probably get stuck. Nylon line(mason's line) is the best because it's slippery.
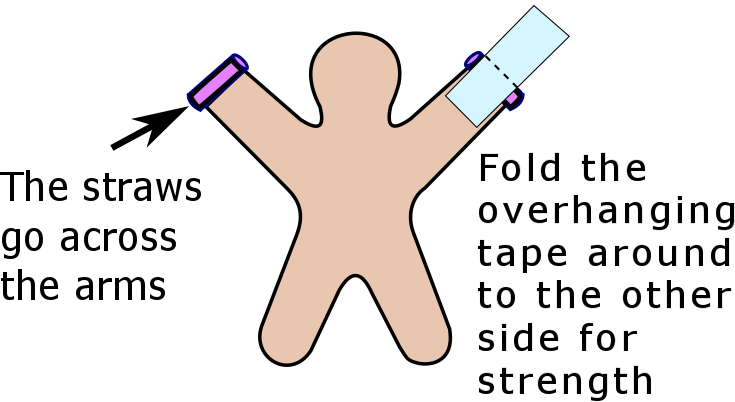
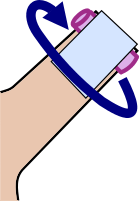
  • Plastic drinking straw
  • Scissors, tape
  • One or two coins
  • Pattern
  • (Optional) Tongue depressor
  • PDF instructions, if you want to print out.

Step 1: Cut out the body.

  1. Print out the pattern. (Use landscape mode)
  1. Rough cut (bubble cut) it out.

  1. Stick "tape doughnuts" (pieces of tape stuck end to end--sticky side out) to the back of the pattern at the hands and feet
  2. Stick the pattern onto the cardboard.

  1. Now fine-cut the cardboard on the outside pattern lines. The two lines on each arm just show where the straw will be taped later.

Step 2: Tape on the straws, coin.

  1. Peel the pattern off the cardboard, but first notice where the lines on the arms are, and how they go across the arms.
  2. Cut straws as long as the arms are wide (about 3/4").
  3. Tape the straw pieces on. Press the tape on hard, because the straws take a lot of stress.

  1. Wrap another piece of tape around the arm perpendicular to the first, as indicated by the arrow. Think of this as taping the tape that holds the straw. I can tell you from experience that kids pull so hard they rip the straws out unless they are really fastened in.

  1. Tape a coin somewhere. I usually make it a giant belly button. (as in the figure below) The coil provides weight so the climber slides back down when you let go. Sometimes you have add a second coin if the climber gets stuck, but try it with one.

Step 3: String and test the creature.

We can string the creature and test its climbing now, using a doorknob (step 4 will free us from having to rely on a doorknob).

  1. Cut about a 5' piece of string.
  2. Thread the ends through from the top.  Tip: Wrapping a little tape might help keep the string from unraveling and make it easier to thread through.
  3. Once it is through, a bigger piece of tape will keep the string from pulling back out.

  1. Hang the loop of string on top of the creature on a doorknob.
  2. Making the creature climb is very easy to show someone, and harder to describe in words. With both hands, pull down very gently on both strings.
  3. Pull one string down while allowing the other string to rise. The creature will tilt one way and go up.
  4. Pull the string that was going up down instead while letting the other string go up. The creature tilts and rises again! And so on.

Step 4: Make a pivot

Making a pivot is optional, but it frees you from having to use a door knob. Before you start, see if you can figure out how the climbing creature works. Adding the pivot limits how far you can pull the string down each time, making it a bit more of a challenge to figure out.

  1. Wrap about a 1' piece of string a couple of times around the middle of a tongue depressor, popcicle stick or piece of dowel about as long (6"). Tie it tightly. If it slides around, tape it so it stays in the middle.

  1. Determine the middle of the loop of string on top of the creature. Tape it securely to both ends of the tongue depressor. Use several wraps for strength. Kids pull pretty hard.

You can tie the pivot string around a pipe or tie a loop in it to hang it from a hook. Sometimes when doing this project with groups where there is nothing to hang from, we tape the pivot string to the wall.


I'd like to know how this project goes for you. I'm happy to answer questions about it. Feedback from you is an important way for me to know what works and what needs clarification.