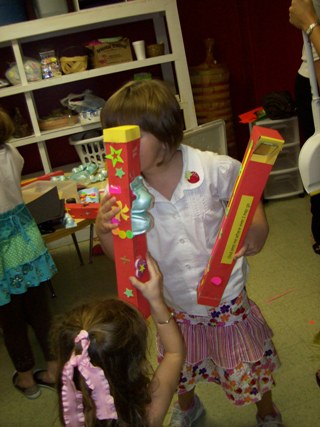
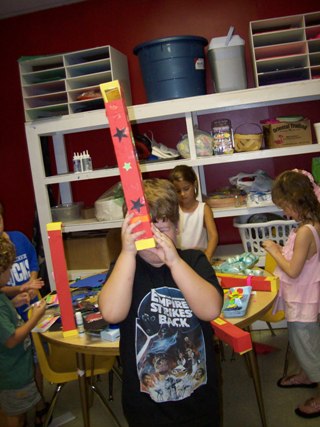
Creative woman named Ann Davis of Oakman, Alabama used poster board and made the periscopes much longer. Furthermore, she adapted it to a theme in her Bible craft class. Each periscope has the words, "God sees me where ever I may go." She reports that the 20 kids in her class (!) loved making it. Ann added an end cap to cover the raw edges and a gluing flap along one edge to make it steady. She found the triangle pattern helpful for helping cut through the confusion of how to set the mirrors.
Frank Oppenheimeer, the physicist and founder of the Exploratorium science museum in San Francisco, was fascinated by mirrors. He was very influential in making science exhibits fun and interactive. Many of his exhibits used mirrors.
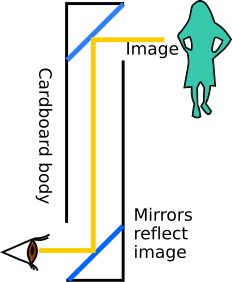
Periscopes use mirrors to see around corners. This instructions here are particularly good for making them with large groups inexpensively. You will use Plexiglas(which is actually plastic) mirror. This instructions, on the other hand, use mirror made out of old CDs or DVDs (thanks to a tip from a Canadian reader).
Another reason I mentioned the Exploratorium at the top of this page is that they also have a good periscope design using a milk carton for the body. Check out their design and compare it with my design and see which will work best for you.The Exploratorium design is more expensive to build but gives you a wider field of vision. Here you can watch somebody using the Exploratorium periscope.
Super Sylvia and her family (of Make Magazine) have terrific periscope instructions, too. They have done the best at incorporating math concepts into the construction.
Hi Slater,
I enjoyed your site and came away with a few ideas, although I need to adapt somewhat as I am a teacher of 3-4 yr. olds. I am passionate about introducing children to science concepts as early as possible and have been making and demonstrating with them for 25 years. I came up with the following idea for a periscope while trying to find something sturdy enough for constant unsupervised use with them (as all my demonstration equipment has to be!) Let them play with it for a while and then field the questions.

- 1 length of rectangular section downpipe.
- 2 right angle connectors for above.
- 2 45 degree triangular wooden blocks to fit in the connectors
I used hot melt glue to attach mirrors to wooden blocks, then drilled and screwed the blocks inside the connectors and attached them to the ends of the pipe facing opposite directions. The connectors are a tight fit and I secured them with a single self-tapping screw to allow easy repair work while preventing children from dismembering the item and leaving the various parts scattered in different areas (if it *can* happen, it *will*, eventually!)
I spiced up the main body with an odd piece of self-adhesive book covering. I created this during a session with children helping me and often take it apart to show them how it is made. Attached is a photo of it in use (a bit out of focus, sorry). This one has had about 10 years of hard use and still going strong.
Keep up the good work
David Baxendell
Christchurch
I'd like to know how this project goes for you. I'm happy to answer questions about it. Feedback from you is an important way for me to know what works and what needs clarification.